Monday, March 3, 2014

How much is 15 minutes?

I often have people ask me how I get so much done in a day, a week, month or even a year.  As many of you know I have more than one job, many causes, hobbies and kids who play hockey!  I qualify as busy as hell! 

Earlier this month we did a project with the kids at the high school that asked them to examine 15 minutes and what you can do with it.  It was awesome - it really made the kids think about their use of time and it also gave me some confirmation that I am on the right track.  I USE my 15 minutes!  I have been doing that for some years now - I just didn't realize that it was a system!

The project we did with the kids had a graph that they were asked to fill out to outline how they spent their day.  Fill out from 9:00 am to 8:00 pm in 15 minute increments and see if you cant find 5 times where you have 15 minutes or more in your day.  What could you do with that time?

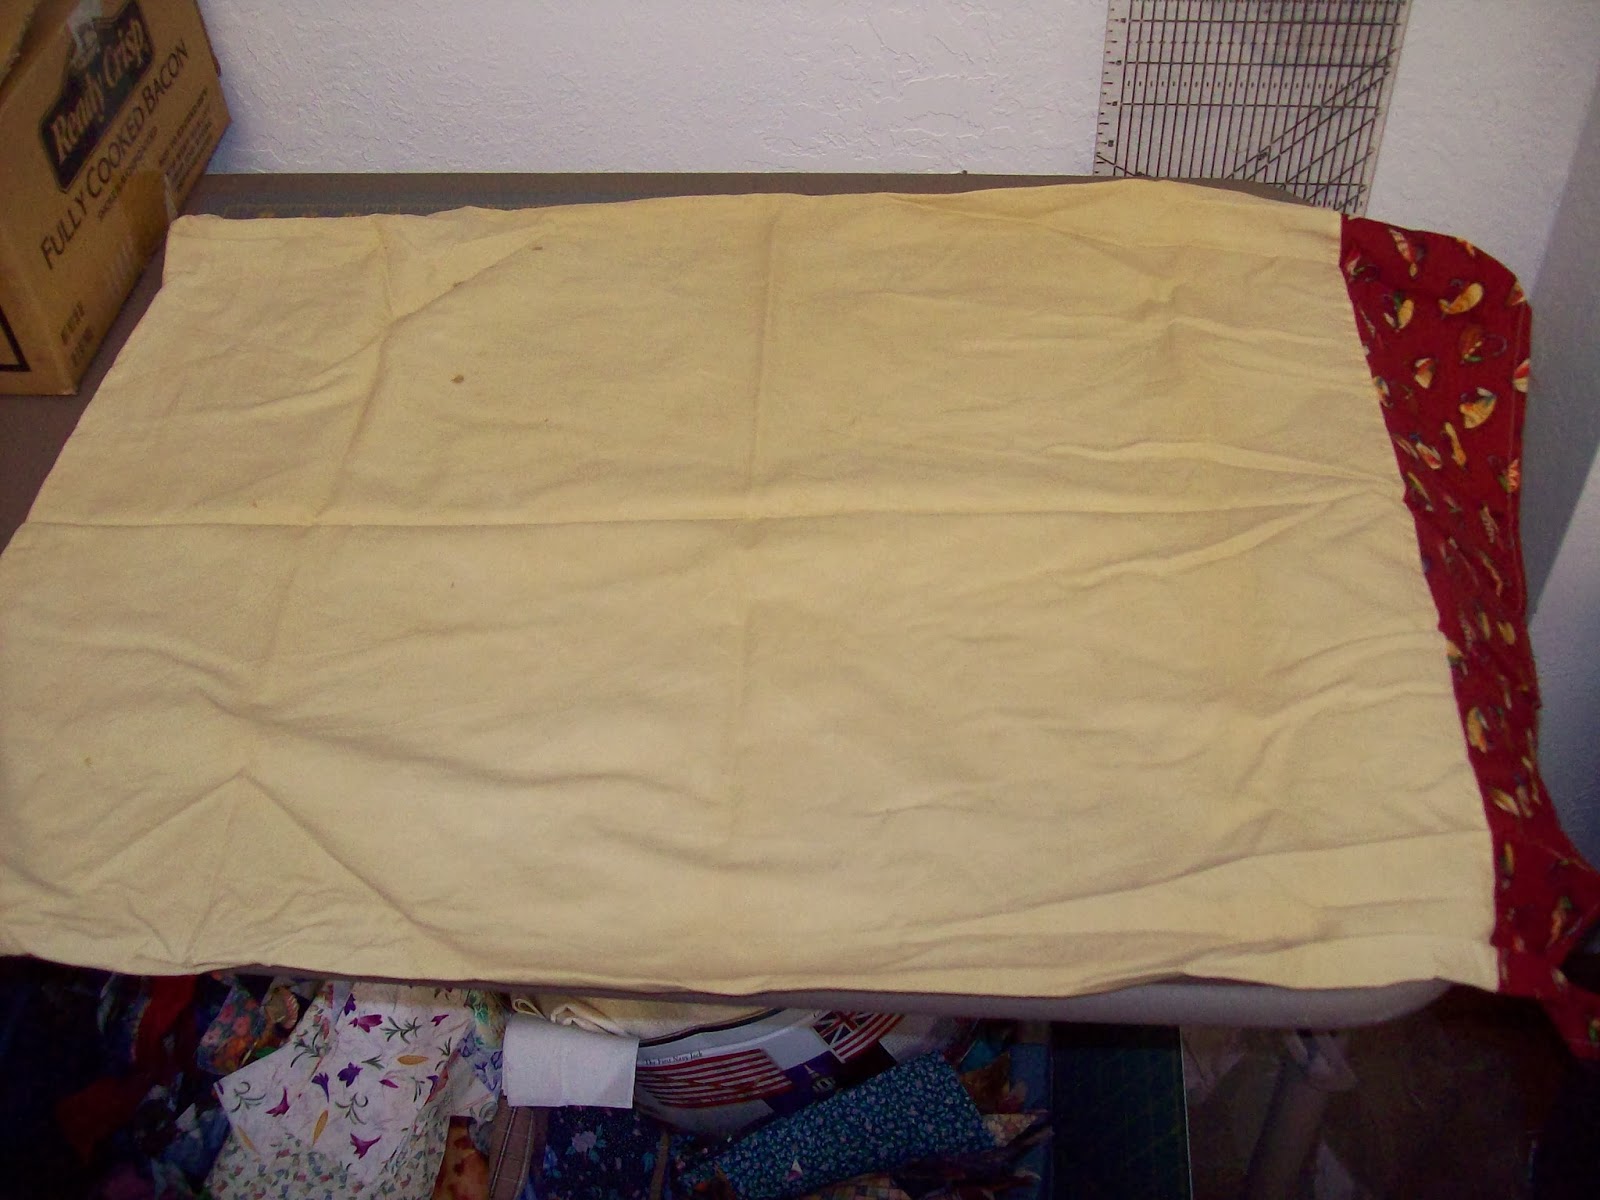
I quilt - as you know from my earlier blogs.  I get quite a lot done for someone with more than one job!  One of the ways that I get so much done is to work on quilts in 15 minute increments.

 
The above is a quilt in a box - one of those projects that got chosen a long time ago and put in a box with all of it's fabric and then as I get time I work on it.  This particular quilt is a blue and gold (Alaska Flag style) Bear paw pattern.  I have 30 different gold fabrics on a blue batik background.  I spend 15 minutes at a time cutting out  blocks (I can get about 2 done in each 15 minute frame).

 
Then I put them on my sewing table as "set-ups" or stacks of pre cut blocks that can be put together in 15 minutes increments.

 
Super easy to keep your set-ups out right in front of the machine so that when you have a 15 minute block you can put a block or two together.

 
These two completed blocks were put together in 15 minute increments - about 1 per 15 minutes.  Before you know it you have enough blocks done for a quilt top!
 
There are other things you can do in your 15 minutes if you don't quilt, or if you forget your rag rug project at home and you have 15 minutes of say; waiting for a doctor, or prescription (I do a lot of that lately), or while waiting for a practice to be over and you have finished your walking.  15 minutes of writing that novel or poem can go a long way towards completion!  Even if you are only free-writing, 15 minutes can get you most of your outline or develop a character for the novel.
 
15 minutes can get you your list for the next day, menu for the week (I do mine in two week increments), or it can let you change out a couple of loads of laundry!
 
Try graphing it out and see when (or where) your 15 minutes a day can take you! 


Sunday, March 2, 2014

The usefulness of a pillowcase

Pillowcases are wonderful items!  They are one of the home décor items that are more taken for granted than any other item I believe!  I did a blog earlier on the page on making pillow cases out of  a bolt of fabric obtained from the thrift store - check it out to see how to make a pillow case from your favorite fabric - but today I want to address what happens when a pillow case has reached the end of its pillow covering life.  Some would say that it is the end of a pillow cases "useful" life but I say WRONG!

A pillow case at our home that has reached the end of its pillow covering life due to that grime that just wont wash out any more or a seam that just wont stay closed, or someone used it for not a pillow covering still has a lot to offer. 

For example the computer monitor cover.  Pillow Cases make wonderful monitor covers for when you will be out of town for a spell or when you just need a dust cover on something or even a dust rag! 

Also take for example the camping rucksack or the meat bag to carry when you are rabbit/bird/anything hunting.  You can also use them for re-making those feather/down pillows that the covering has become stained or so thin that it lets the feather out to poke you in the head all night!  Ill show you how to do that in a future blog (not long I promise).

When a pillow cased has really, really reached the end of its useful life as a pillow case here at Wicked Raven we cut it into 1" to 1 1/2" strips and we crochet those strips into rugs.  You can also braid them but then you have some sewing to do - either way make a great rug!  But if you know how to braid and not how to crochet them braiding is your answer, or if you are like members of my family, many of whom are weavers, they make great rug strips for that too!

Take any old pillow case that is too beat up to go on as a whole unit and cut the end off of the case (so now you have a tube of fabric).  Then cut the case off across the side seam.  Leave it closed.  There is a way to make one continuous strip of fabric out of a fabric tube - some great tutorials online for that - I don't do that as I like to mix my strips up so that I have a big color variation throughout.  After you have done both of those cuts, now cut it into strips of the width you want to work with.

To make your rug, begin with a large crochet hook - I use a "K" through "M"size, but mostly because that size is comfortable in my hand and makes the rug loops the size I want.  There are no rules here about size - it really doesn't matter.  I have found that the medium/large
sized hooks are better for me - they aren't so small that the fabric becomes hard to work with (knots too small) and they aren't so large that they are unruly and make the rug too loose.

Choose what ever size feels good to you and that you will be able to work with your fabric - it sometimes depends on the fabric too - if you are using denim for example, that will require a different size than the pillowcase fabric.
 
I store my strips in a basket by the couch - its easy to work on the project if you only have 15 minutes even, or while watching tv, or for the pressure cooker to finish coming to pressure.  I also include my selvage ends in the basket from cutting quilting fabric.  They work in just great for these projects and add some "pop" of color.  I roll them up in a ball too, tying them together as I go so that I can grab it and go out the door for an on-the-road project as well - just throw it in a bag and off you go!


Loop onto the crochet hook as you would if using yarn or any other type of crochet material.  After about three loops/stitches, tighten the tail of the first loop so it wont unravel as you go. (see below)


Add strips as you go by tying them together (some people like to sew them together, but that is a pain unless you do all of them at a time and sometimes that just isn't in the cards for me - if you prefer to sew them please do).

Crochet until you have the desired length for your project.  This one will be a floor rug in front of some French doors so I am making a rectangle, but you can make round, oval, square, just about any shape you would like.  Make the turn and begin to crochet in the stitches you just made for your first run, same as you would any crochet pattern.
 

 I don't worry about the tie ends - I just let them hang out.  I like the kind of rustic feel that they give the projects.  If those bother you (as they do some in my family) just cut them short or tuck them into the project, or if they just wont stay put, use a needle and thread to tack them under or inside with just a few quick turns of the needle.


This is a great way to use up those scraps of fabric and make a "useless" pillow case have a new life!  Have fun with it!