Sunday, March 2, 2014

The usefulness of a pillowcase

Pillowcases are wonderful items!  They are one of the home décor items that are more taken for granted than any other item I believe!  I did a blog earlier on the page on making pillow cases out of  a bolt of fabric obtained from the thrift store - check it out to see how to make a pillow case from your favorite fabric - but today I want to address what happens when a pillow case has reached the end of its pillow covering life.  Some would say that it is the end of a pillow cases "useful" life but I say WRONG!

A pillow case at our home that has reached the end of its pillow covering life due to that grime that just wont wash out any more or a seam that just wont stay closed, or someone used it for not a pillow covering still has a lot to offer. 
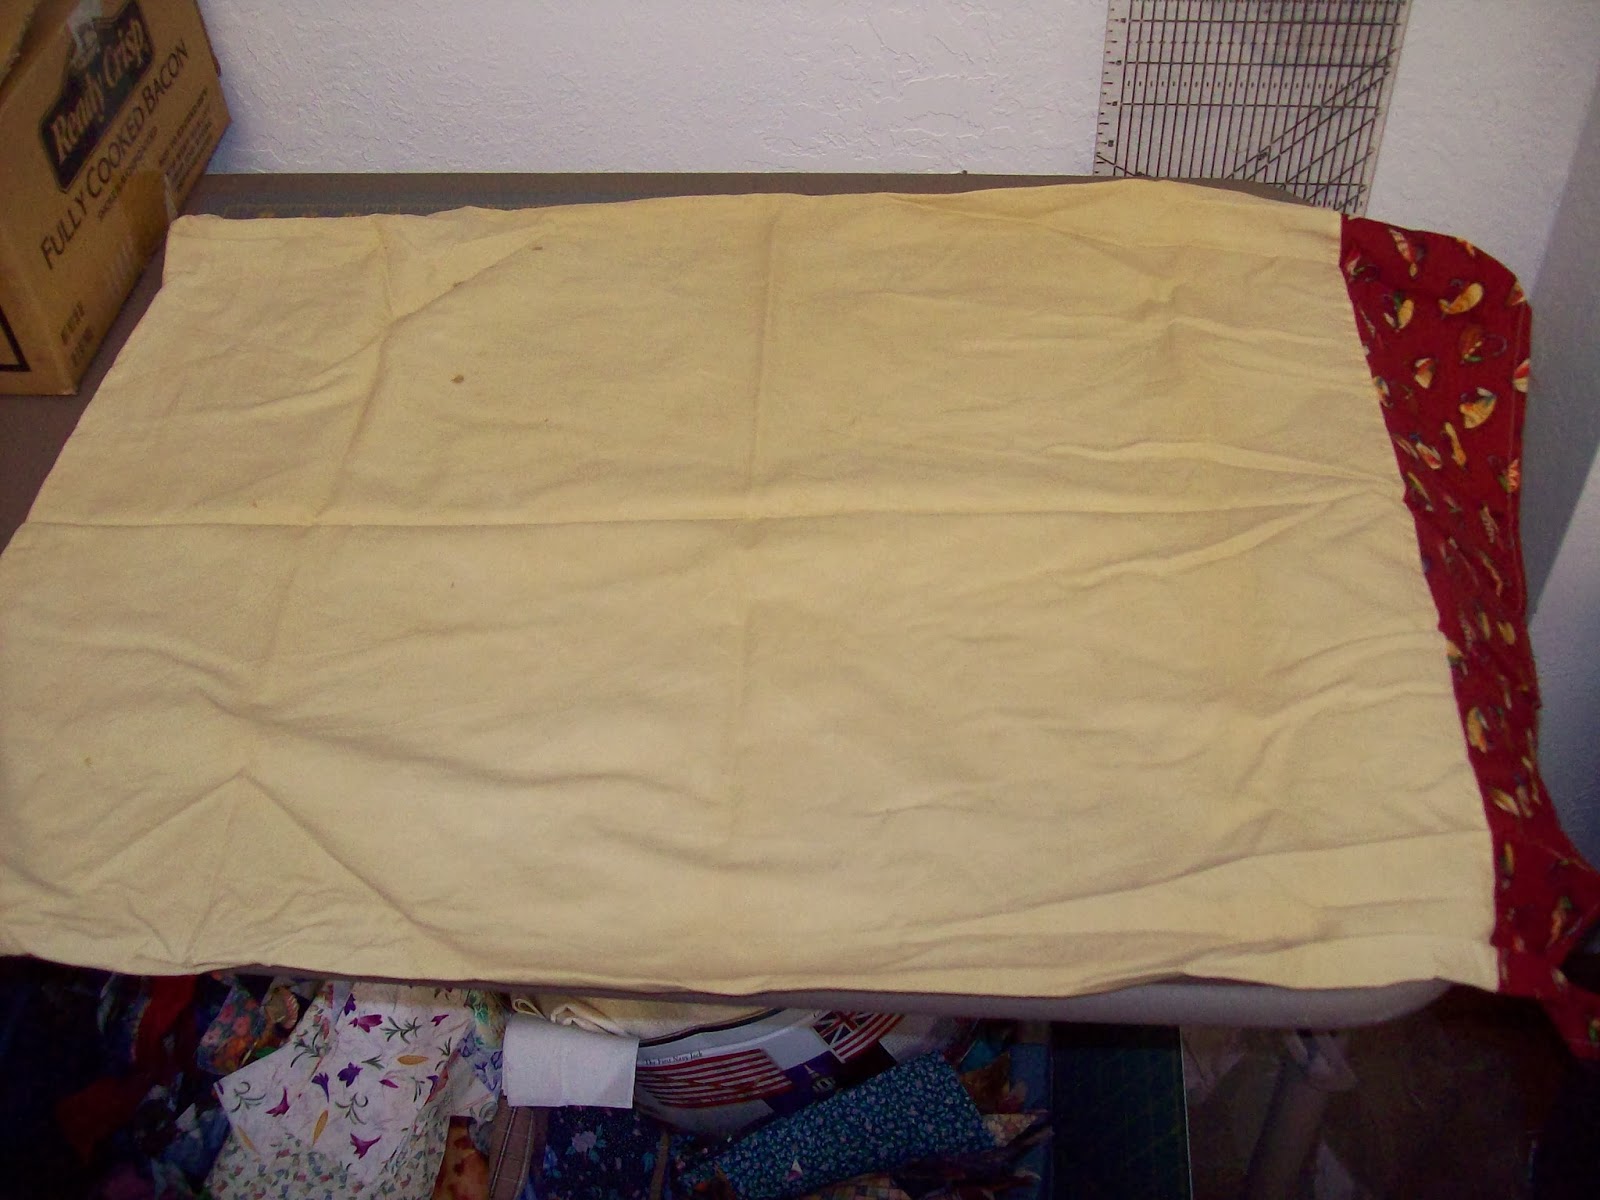
For example the computer monitor cover.  Pillow Cases make wonderful monitor covers for when you will be out of town for a spell or when you just need a dust cover on something or even a dust rag! 

Also take for example the camping rucksack or the meat bag to carry when you are rabbit/bird/anything hunting.  You can also use them for re-making those feather/down pillows that the covering has become stained or so thin that it lets the feather out to poke you in the head all night!  Ill show you how to do that in a future blog (not long I promise).

When a pillow cased has really, really reached the end of its useful life as a pillow case here at Wicked Raven we cut it into 1" to 1 1/2" strips and we crochet those strips into rugs.  You can also braid them but then you have some sewing to do - either way make a great rug!  But if you know how to braid and not how to crochet them braiding is your answer, or if you are like members of my family, many of whom are weavers, they make great rug strips for that too!

Take any old pillow case that is too beat up to go on as a whole unit and cut the end off of the case (so now you have a tube of fabric).  Then cut the case off across the side seam.  Leave it closed.  There is a way to make one continuous strip of fabric out of a fabric tube - some great tutorials online for that - I don't do that as I like to mix my strips up so that I have a big color variation throughout.  After you have done both of those cuts, now cut it into strips of the width you want to work with.

To make your rug, begin with a large crochet hook - I use a "K" through "M"size, but mostly because that size is comfortable in my hand and makes the rug loops the size I want.  There are no rules here about size - it really doesn't matter.  I have found that the medium/large
sized hooks are better for me - they aren't so small that the fabric becomes hard to work with (knots too small) and they aren't so large that they are unruly and make the rug too loose.

Choose what ever size feels good to you and that you will be able to work with your fabric - it sometimes depends on the fabric too - if you are using denim for example, that will require a different size than the pillowcase fabric.
 
I store my strips in a basket by the couch - its easy to work on the project if you only have 15 minutes even, or while watching tv, or for the pressure cooker to finish coming to pressure.  I also include my selvage ends in the basket from cutting quilting fabric.  They work in just great for these projects and add some "pop" of color.  I roll them up in a ball too, tying them together as I go so that I can grab it and go out the door for an on-the-road project as well - just throw it in a bag and off you go!


Loop onto the crochet hook as you would if using yarn or any other type of crochet material.  After about three loops/stitches, tighten the tail of the first loop so it wont unravel as you go. (see below)


Add strips as you go by tying them together (some people like to sew them together, but that is a pain unless you do all of them at a time and sometimes that just isn't in the cards for me - if you prefer to sew them please do).

Crochet until you have the desired length for your project.  This one will be a floor rug in front of some French doors so I am making a rectangle, but you can make round, oval, square, just about any shape you would like.  Make the turn and begin to crochet in the stitches you just made for your first run, same as you would any crochet pattern.
 

 I don't worry about the tie ends - I just let them hang out.  I like the kind of rustic feel that they give the projects.  If those bother you (as they do some in my family) just cut them short or tuck them into the project, or if they just wont stay put, use a needle and thread to tack them under or inside with just a few quick turns of the needle.


This is a great way to use up those scraps of fabric and make a "useless" pillow case have a new life!  Have fun with it!

Monday, February 10, 2014

A Rose is a Rose - unless its Jelly!

Now that I have finished whining about things - lets do something fun!  With Valentines day coming right up it is always nice to have a gift to make that is easy, doesn't cost an arm and a leg, and isn't an overdone candy gift!  Not that I don't like candy but sometimes you need something that is not an overly romantic gift as well - Rose Petal Jelly fits that bill perfectly!  Not only is it my 13 year olds favorite jelly, it is really fast and easy to make!

Below picture is Rose de Rescht, a lovely fragrant shrub rose that I got about 3 years ago from Richters Herbs in Canada.  www.richtersherbs.com  This rose is a perfect choice for rose petal jelly, and it dries very well for this use.  I have also used Rosa Rugosa, and the white petals of Rosa Alba Semi-Plenins, even wild roses.  The red and pink fragrant roses work best for this as they add beautiful color to your jelly.  The white petals work well for flavor but the color is much lighter. Any of these will also work wonderfully for potpourri!


Harvest the rose petals just before the rose has gone by.  You can also cut the roses and harvest them as they fall on your table!  Dry as you would any flower or herb, making sure you get them dry, dry, dry!  If there is any moisture in them, they will mold and you will not be able to use them for anything.  I store mine in a jar with a gasket and locking lid (see below).  You can use fresh petals for the jelly also if you are making the jelly in summer season.  If you don't have any dried petals you can get them at your local health food/herb store.  Make sure you get food grade petals that have not been treated with any chemical fragrances.  The petals in this jar are mostly Rosa Alba Semi Plenins (a white rose also from Richters).  You can see below that the petals are a mix of red and white petals - but all are very fragrant.


ROSE PETAL JELLY
3 1/2 C. water (Apple juice works great as well)
1 Cup fresh fragrant rose petals or 1/3 C. food grade dried rose petals (red or pink ones work best for good color)
2 whole cinnamon stick and/or cloves (optional - just not at my house)
2 Tbsp Lemon Juice (preferably fresh)
1 box (1 3/4 oz) powdered pectin
4 C. Sugar
Bring the water to a boil in a small sauce pan and stir in the rose petals and the clove/cinnamon if you are using them. Remove from heat and let steep for about 10 minutes as if you were making tea.
Strain the tea into a deep kettle, discarding the solids.  Stir in the lemon juice and pectin and continue stirring until the pectin is dissolved.
Bring the mixture back to a hard boil and add the sugar.  When it once again returns to a hard boil, time for two full minutes stirring constantly.  Skim off any foam and put hot product into hot jars and seal using a hot water bath or the quick flip method.
Total time is about 1 1/2 hours and it makes about 7 half-pint jars.  I have not tried to double this recipe so I make no promises as to how that will go.


I like to use the small half-pint jars for this as it makes for a nice sized gift.  Add a ribbon, some hearts, a fabric ring, or just a fancy label to the jar and you have a wonderful, tasty, Valentines gift, for girls or boys!  Have fun and have a happy Valentines Day!

After making this recipe again using liquid pectin - it DOES NOT WORK!  You must use powdered pectin!  Don't know why - the liquid just does not jell! 


Sunday, February 9, 2014

Its Always Something!

We are having a character building year here at Wicked Raven!  Our weather has been so wonky this winter that I am unsure what I will have left come summer!  I wrote in an earlier blog about the rain in January and I also wrote about waiting for results in another (I probably need some cheese with my whine lately) but now we had the week from h e  double hockey sticks - actually two weeks of utter chaos and craziness!


Reed (the 13 year old) had a freak fall in the locker room and broke his elbow.  This is a kid who falls on ice on a regular basis and gets hit by other big guys on the ice at high speeds and has never had anything broken that way.  But fall in the locker rom with no gear on and he shatters his elbow! (after surgery the doc showed us the x-rays and it was in pieces)!  As we were heading to the hospital for the surgery to fix the elbow the wind was blowing so hard that it was picking up pea gravel sized rocks and hurling them like hail stones against the windshield of the car!  We haven't had any snow and the whole cage/wire/mulch system that I had on the grapes vines is gone!  I will have to go out and formulate something else and see if I can save them. The wind is still blowing here (started up in the middle of the night again).

Alaska doesn't name its storms like the lower 48 does.  If the wind blows - even 73 miles per hour(which it did) - it still is just called Wind!  So actually every storm we have ever had has just been named after what it produced the most of - Snow, Rain, Wind Sleet!  We never get a cool hurricane name for them.  We have been having facebook discussions about how we should all get together and name the storms!

Sleeping overnight in the hospital was hard because the wind could be heard through the windows and it was a little chilly and it really is true that they wake you up all the time to "help" you.  The wind picked up sand from a hillside nearby the hospital and blew it right across the roof into the windows of the room!  That is a spooky sound when you are hearing all kids of noise you aren't used to.  And Reed really struggled to get comfortable no matter how we adjusted the bed.  As hospital experiences go we had a wonderful one - I cant complain about any of the treatment or service we got - just that we had to be there in the first place!

So not only did we do some more waiting for results this last week - we had more Wonky Weather!  And as we get closer to spring we will do more waiting for results as we await the new growth or lack thereof on the farm!  Ill keep you posted, in the meantime... I hope your waiting is only for good things, and that your weather is all sunshine to make roses!


Sunday, February 2, 2014

Update on 24 at 13 for the rec center post

Since last year when Reed had his birthday and did the "give 24 for the Rec Center" fund raiser there have been a ton of changes!  Phase IIa is complete and we now have heated bathrooms, storage, locker rooms, nurse station and referee rooms as well as a conference room and concessions area!  It really has been amazing!


Here is a shot of the front of the new addition to the Rec Center.  Beautiful. 

We have a lot of folks to thank for the additions including the Rasmusen Foundation who have given the last monies we need to complete phase II.  It will include a commercial kitchen, café style viewing area above the rink and meeting areas.  The photo above was taken by a graduate of Houston High School (our local school) - Thank you Robert!  Great job! 

 
Here is an indoor soccer practice at the Rec Center!  Giving great kids great things to do!


The Big Lake Lions Club Rec Center has been such a blessing to the community and continues to build great community as they build and grow the Rec Center! 

To find out more about the Rec Center go to www.biglakereccenter.com or to the Big Lake Lions Rec Center Face Book page at https://www.facebook.com/pages/Big-Lake-Lions-Recreation-Center/160418647401461

If you are ever in our area of Alaska make sure you stop in and say hi!  If you get a chance to thank your local Lions Club (or ours) please do so - they make such a difference!  Don't forget to get out and see what's happening at your local Rec or Community Center!  You'll find great things!