There are a lot of things you can do with bolted broccoli and kale though! Stir fry recipes, veggie tray with dip if they aren't flowered too far, and pickling to name a few! My favorite way to use bolted kale though, is kale chips! They are super simple and healthy too!


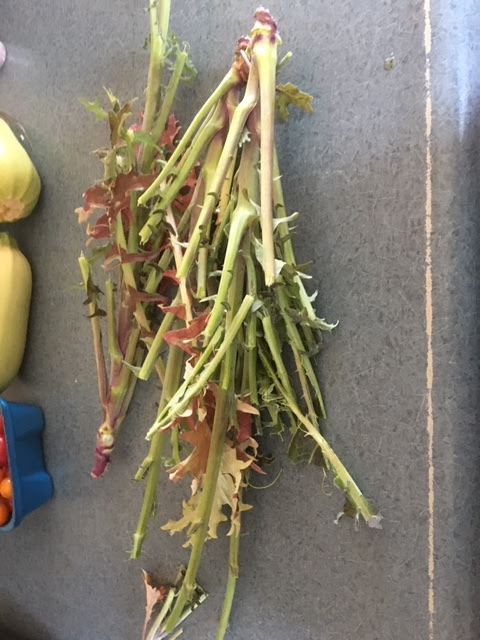
You can see above where the long tops of the kale in the bottom of the picture are just opening to flower. Cut that part and save for something else.

I pull the whole plant when I am making kale chips since there wont be any need to leave it in the ground. There won't be much left!
Strip off all of the good leaves - leave any that are dried out or very discolored. Wash and pat them dry. If the leaves are big remove the heavy center stem. Place the leaves in a glass bowl or a gallon ziplock bag. For this batch I used 3 plants worth. It's about 4 loose cups.

For my chips I like to use the following as a marinade:
1/4 C. light olive oil
1/4 C. Balsamic Vinegar
2 tsp. Garlic and Herb blend (this is a Spice Island blend that we use for a lot of things here).
Blend well in a glass bowl and pour over your kale leaves. Let marinate for at least one hour up to 4 hours.
There are lots of chip recipes available if these flavors aren't to your liking - garlic, onion, olive oil and lemon too - even just Italian dressing will work, or a bit of oil and ranch dressing mix! Use what you like!

After they have been in the marinade, place the leaves on a cooling rack inside a cookie sheet lined with parchment. The parchment helps keep the pan from needing to soak - trust me on this one! Preheat the oven to 225 degrees. I used the convection feature for this recipe.
You can also use a dehydrator if you have one. I have one but I didn't want to use it this time since I wanted to use the oven method.

Place the oven racks so there is about 3-4" between them and place the kale chips on the top two racks. Bake for 1&1/2 hours. Check the doneness at an hour and again at and hour and 15 minutes just in case. Thinner leaves will crisp up faster and they stick to the rack if they are over done. They can also taste scorched as well.

Let them cool for about 5 minutes and then start taking them off the racks. If you let them cool on the rack for too long they will stick and break badly.

The best way to loosen them is to put your hand underneath the rack and push lightly through the holes from the bottom.

They may look shiny and oily still but that is ok - if they are crispy when you bite into one - they are done.

Yum! Crispy kale chip! Kale contains potassium, B vitamin, magnesium and fiber, to name a few of the healthful benefits!

Store in an airtight container and eat whenever you please! Ziplock bag works ok as well, but they have a tendency to break up and you end up with salad toppings instead of chips! They become just crumbs.
They are delicious either way!
Enjoy! Blessed Be!
No comments:
Post a Comment